也不记得蒙多少次安装LAMP或者LNMP了,这次来细致的梳理一遍,对了这里使用的是Nginx而不是Apache2,因为我想在小范围的局域网内实现Nginx的反向代理功能建立一个小的域名访问mini家庭网。这次先不用phpmyadmin来管理MySQL试试,因为网页是现成的,如果不方便使用我再安装phpmyadmin,这将插入到第三部分中
还是以工具手册的形式来写,下面是步骤(未来开发词条折叠的功能,内容折叠收纳在每一步的标题下面就能更方便的浏览和查阅了)
<collapse> “步骤“ ,”内容“</collapse>如此这般的用Markdown来折叠
回到正题,步骤如下:
安装Nginx以及php7.3软件包
在 Pi 的终端运行以下命令。
sudo apt-get update
sudo apt-get install nginx php7.3-fpm php7.3-cli php7.3-curl php7.3-gd php7.3-cgi
sudo service nginx start
sudo service php7.3-fpm restart
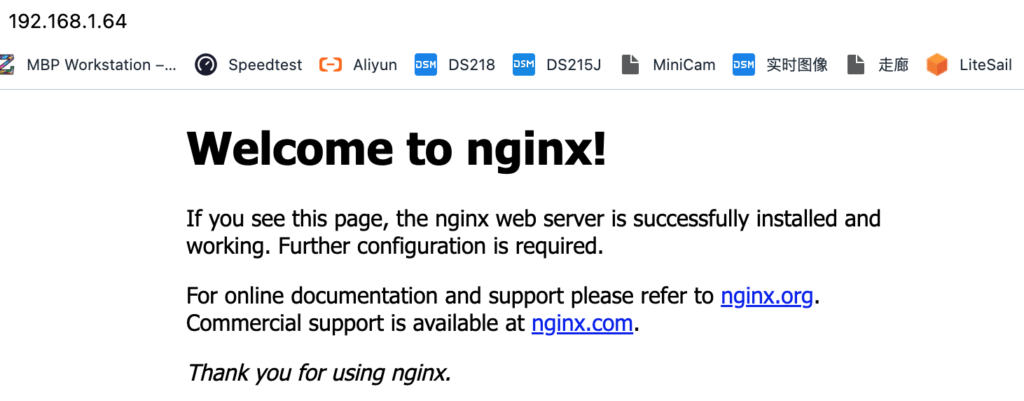
如果安装成功,可通过 http://树莓派IP/ 访问到 Nginx 的默认页。Nginx 的根目录在 /var/www/html
配置Nginx使其可以处理php
sudo nano /etc/nginx/sites-available/default
将其中的如下内容(其中有坑:注意在输入一下代码时,看不见的对齐处”space“党和”tab”党注意要手动输入,避免ASCII码转换成无意义的字符导致Nginx报错)
location / {
                # First attempt to serve request as file, then
                # as directory, then fall back to displaying a 404.
                try_files $uri $uri/ =404;
        }
替换为(原文,可能有字符问题)
location / {
index  index.html index.htm index.php default.html default.htm default.php;
}

location ~\.php$ {
fastcgi_pass unix:/run/php/php7.3-fpm.sock;
#fastcgi_pass 127.0.0.1:9000;
fastcgi_param SCRIPT_FILENAME $document_root$fastcgi_script_name;
include fastcgi_params;
}
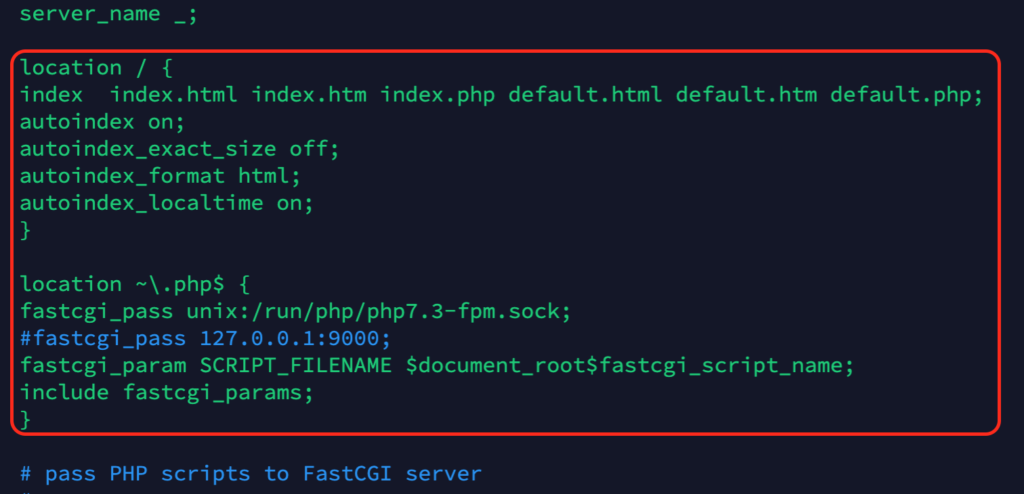
   # 我的版本
        location / {
        index  index.html index.htm index.php default.html default.htm default.php;
        autoindex on; # 加入对于indexes的支持,虽然没看出来有什么效果(-_-!)
        autoindex_exact_size off;
        autoindex_format html;
        autoindex_localtime on;
        }
        location ~\.php$ {
        fastcgi_pass unix:/run/php/php7.3-fpm.sock;
        #fastcgi_pass 127.0.0.1:9000;
        fastcgi_param SCRIPT_FILENAME $document_root$fastcgi_script_name;
        include fastcgi_params;
        }
Ctrl + O 保存再 Ctrl + X 退出。
sudo service nginx restart
最后重启 Nginx 即可,以上步骤在树莓派3B + Raspbian Buster 系统版本上测试通过。4B也可以用的,别瞎想了。不能用一定是因为你漏掉了什么,再仔细检查一下。也可以使用reload命令,让Nginx能够不中断服务进行热更新。
sudo service nginx reload
到此便能把自己的网页文件丢到根目录下,记得修改directory的赋权,此处对应的根目录是/var/www/html/,在./html/文件夹(或称为directory)下的index.html或者index.php文件会被认为是“available”的site,能够被www直接访问,比如192.168.1.64/linux这个地址,就能直接打开鸟哥的私房菜离线网页。
sudo -R 755 /var/www/html/linux # 对于整个我的鸟哥网站
sudo reboot -h now #重启Nginx没有什么鸟用,重启系统后访问http://192.168.1.64/linux/vbird.dic.ksu.edu.html就正常了
安装以及配置MySQL(MariaDB)
安装软件包
sudo apt-get install mariadb-server-10.0
更改密码
执行 sudo mysql 命令。
MariaDB [(none)]> use mysql;     #该命令利用”mysql“来进入MariaDB
MariaDB [mysql]> update user set plugin='mysql_native_password' where user='root';
MariaDB [mysql]> UPDATE user SET password=PASSWORD('password') WHERE user='root';
MariaDB [mysql]> flush privileges;
MariaDB [mysql]> exit;
重启服务
sudo service mysql restart
mysql配置就完成了。
到这里已经能在树莓派上7X24浏览鸟哥网站了,用同样的办法我也能够把其他网站离线文件放在一个文件夹(directory),再用su权限copy到/var/www/html/directory ,赋权755给这个directory,重启之后就能轻松访问了。
sudo chmod 755 -r /car/www/html/directory #自行修改directory为你自己的文件夹名称
sudo reboot -h now
以后将会有/var/www/html/thangka等等,只在http://192.168.1.178/linux或者http://192.168.1.178/thangka来随时访问。